

Paxton Importing and Exporting Net2 User Data
Paxton


User data is defined as all the information Net2 holds about an individual cardholder. Often the majority of this information already exists in other databases owned by the end user. It is possible to import this existing data into Net2. This can save many hours of administration time when a large system is first being installed. Net2 will accept information in the form of a Text (TXT) file or a comma separated values (CSV) file. These standard file formats are supported by most database software packages including Microsoft Access and Excel.
When producing a file for import into Net2 it is important that the data fields are arranged in the correct order and do NOT exceed the maximum length as shown in the 'User data field' table. Only the first two fields are required to define the user and all other fields can be left blank.
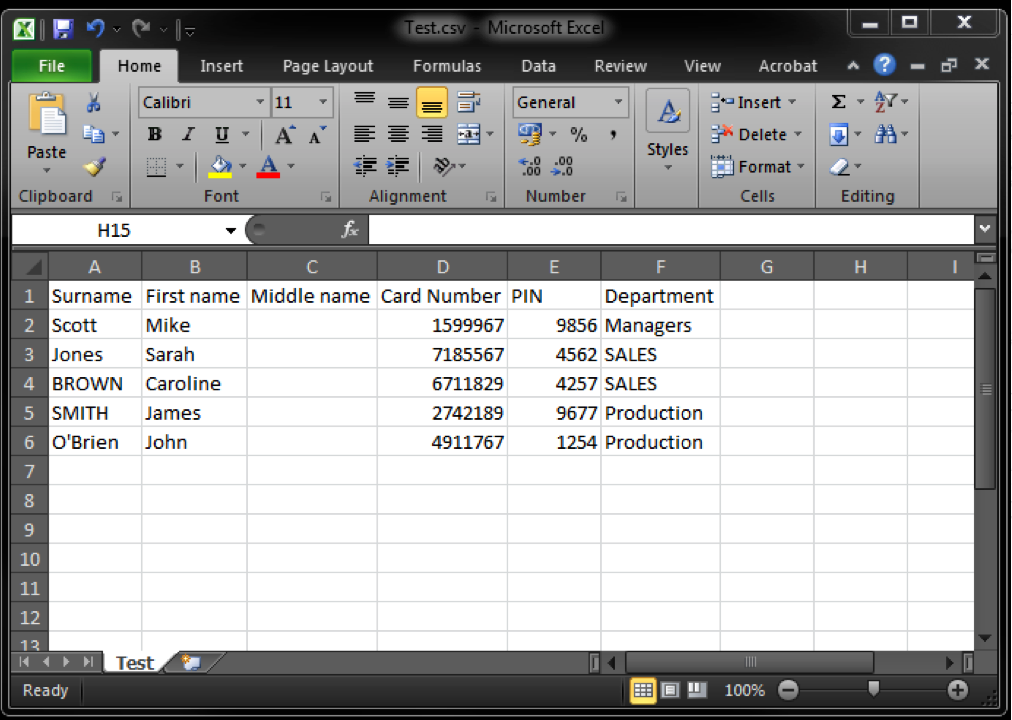
The screenshot below shows how a CSV file can be produced in Microsoft Excel. The first line can contain the field names as the import is able to ignore them. Any field that is to be left blank is still included so that the rest of the fields remain in their correct locations.
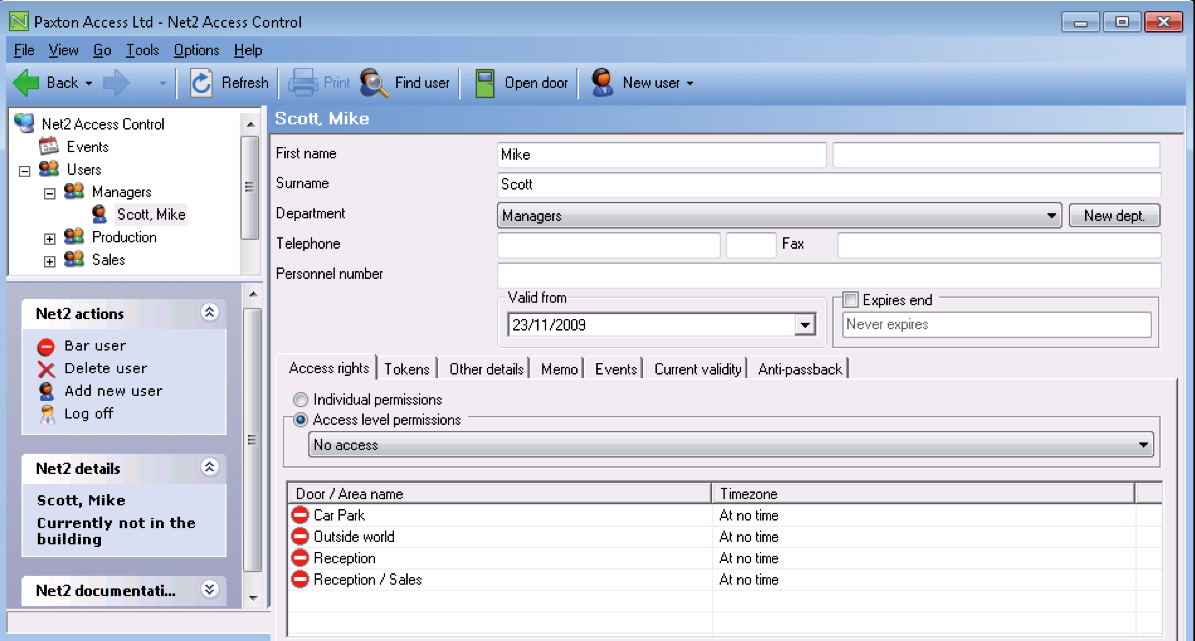
Export from Net2 first to get all of the column headers for the import.
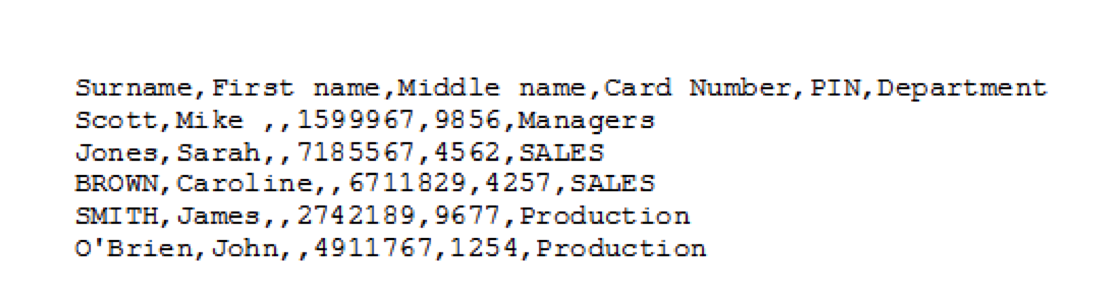
The file must be saved in the .csv format and can then be viewed, as below, in a text format, which shows the comma separators. Note how the blank fields display as two commas with nothing in between them.
To import the TXT or CSV file, select the import option from the File menu.
The import wizard will appear. The filename of the CSV file should be entered or browsed to in the Import filename window. Select the delimiter used in the file, comma, semi-colon or tab.
If the field names have been included on the first line of the file, as shown in our example, the 'first row contains field names' box must be checked.
A useful feature of the import wizard is the ability to convert data entries to true text (e.g. SMITH becomes Smith). Fields marked in the 'User data fields' table with an asterisk (*) will be converted if the 'Convert data to true case' option is active. Check the tick box to use this function.

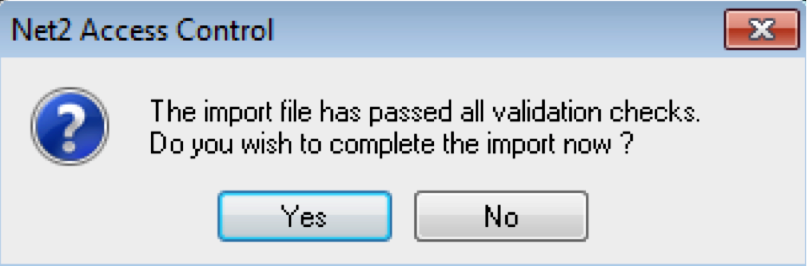
After pressing Next, the data will be displayed in a table showing how it will be imported into Net2. It is important at this stage to check the information through to ensure each field is correctly located. Only when this is correct should the file be imported. Note that SMITH has changed to Smith, but unfortunately O'Brien has now changed to O'brien. Names that are changed incorrectly in this way must be manually changed in the individual user record within the Net2 software.
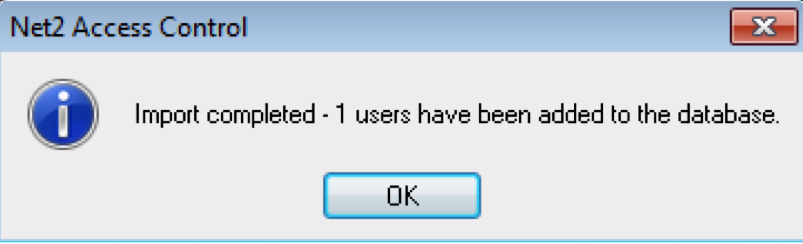
Once the file preparation has been completed, you will be shown how many users will be imported. Click Finish to import the data into the Net2 database.
Once the file import is complete the information will appear under the Users section in the Net2 software. Users will be grouped by Department.
During the export process, the token type is added as a prefix to the token number with a # as a field separator. (0#12345678) The type is defined as follows:
0- Unspecified
1 - Proximity only ( Clamshell )
2 - Proximity ISO card
3 - Keyfob
4 - Hands free keyfob
5 - Watchprox
6 - Proximity ISO card (no magstripe)
7 - Car Registration
8 - Hands free keycard
9 - Fingerprint
10 - Telephone number
If further imports are required, the same process can be followed again, it is important however, not to include any duplicate records in the new import file, as Net2 will reject these.
The Export feature can be accessed from the drop down File menu at the top of the screen. This allows all user details to be exported in a .csv format to any destination that you specify. The layout of the file is the same as that detailed in the table above.
If exporting user data from one Net2 system to another Net2 database, be careful not to overwrite any existing users with duplicate UserIDs. The simplest way to ensure this is to delete the UserID column in the .csv file (Column AA) before the import and new IDs will be created for these users in the new database.
At All Secure, we are dedicated to delivering superior service; enabling our clients to trust us and recommend us to others.


